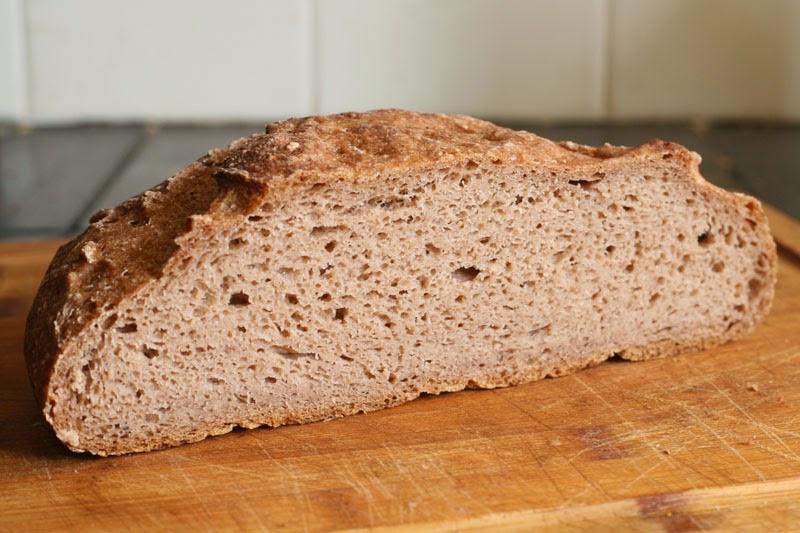
One-Step Sourdough Bread Recipe
I’ve been baking quite a bit of bread lately, and I thought it was high time to share some new bread recipes. Almost a year ago, I posted a top-rated recipe for a traditional two-step, 24-hour sourdough bread. I love that recipe, and I think that it makes a really delicious, sour bread. However, sometimes I want my bread to come out less sour, or I don’t have the time to do the two-stage sourdough process. This recipe I use for a bread that only takes one rise – then it’s shaped and baked.
1-Step Sourdough Bread Recipe
First mix: 10 minutes
First rise: 6-12 hours
Bake time: 45 minutes
Whisk together until blended in the bowl of a stand mixer with the paddle attachment or in a large bowl with a fork:
460 g Spring Water (don’t use tap water or any chlorinated water)
30g whole psyllium husk (or 20g finely ground psyllium husk)
Mix into the liquid with the paddle attachment or by hand with a wooden spoon:
400gBread Flour
100g wild yeast sourdough Starter (@120% hydration)
12g (1 TBSP) sugar
1 1/4 tsp salt
Pre-shape the dough into a ball and keep it seam-side up in the bowl. Cover the bowl with plastic wrap and let stand at room temperature for 6-12 hours. Keep an eye on it starting at the 6-hour mark.

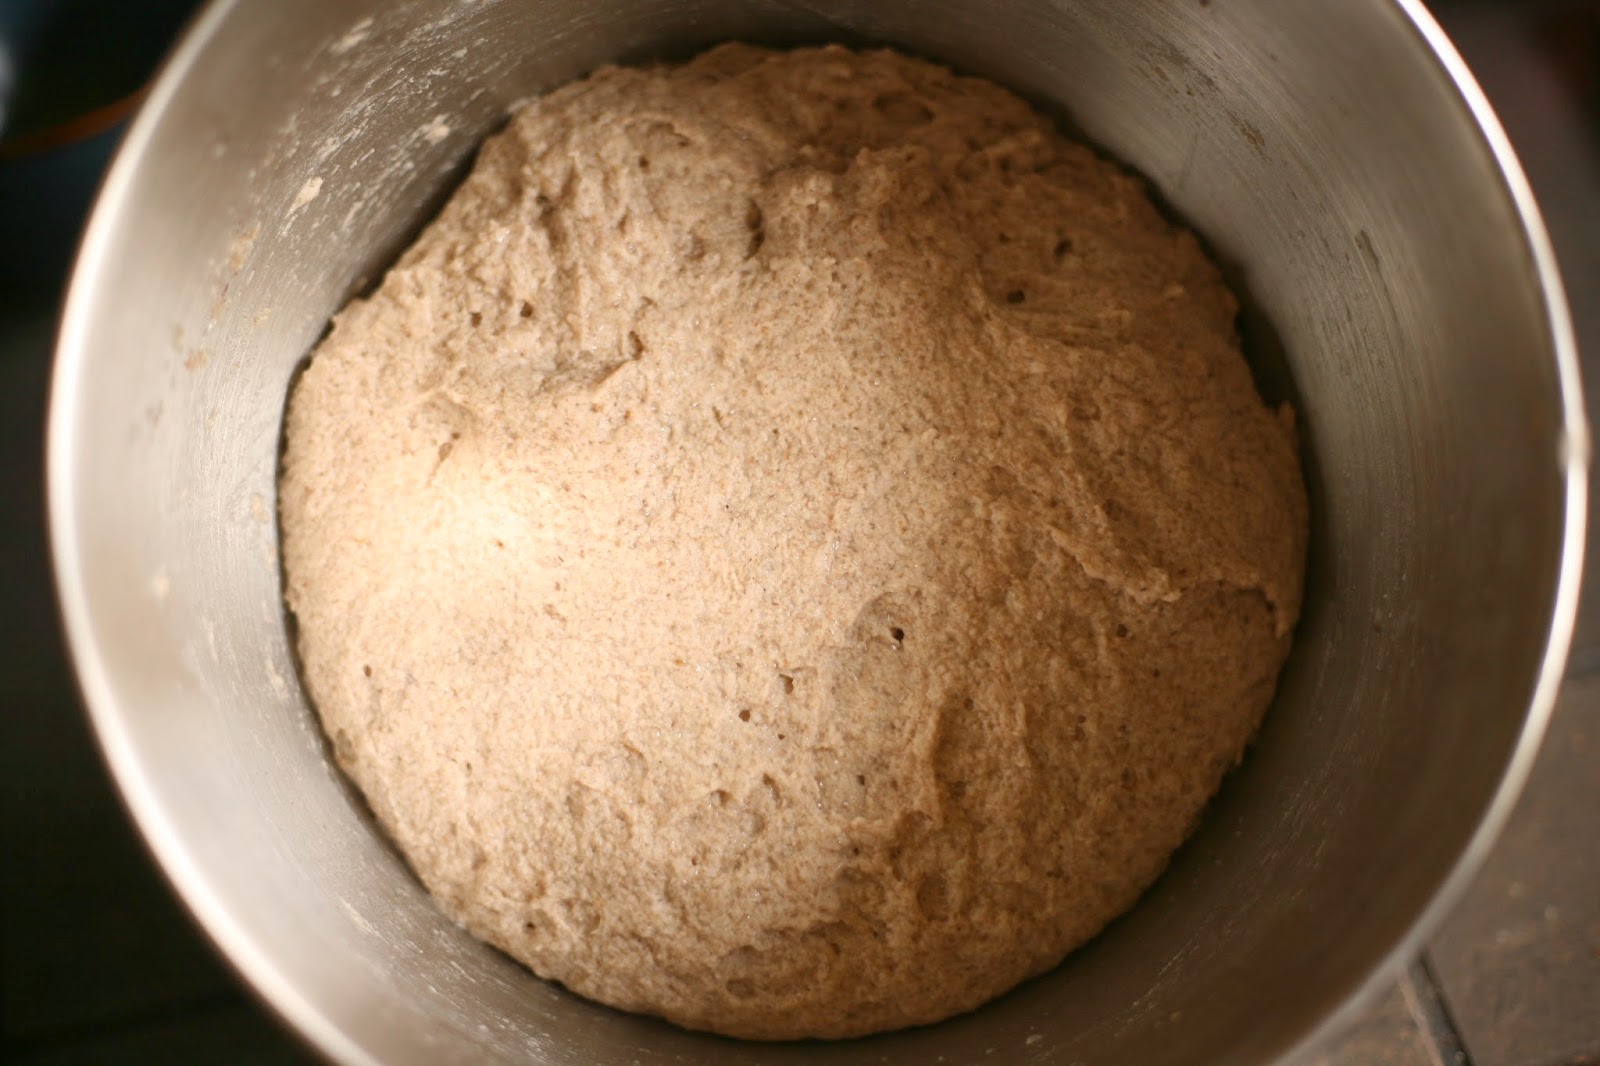
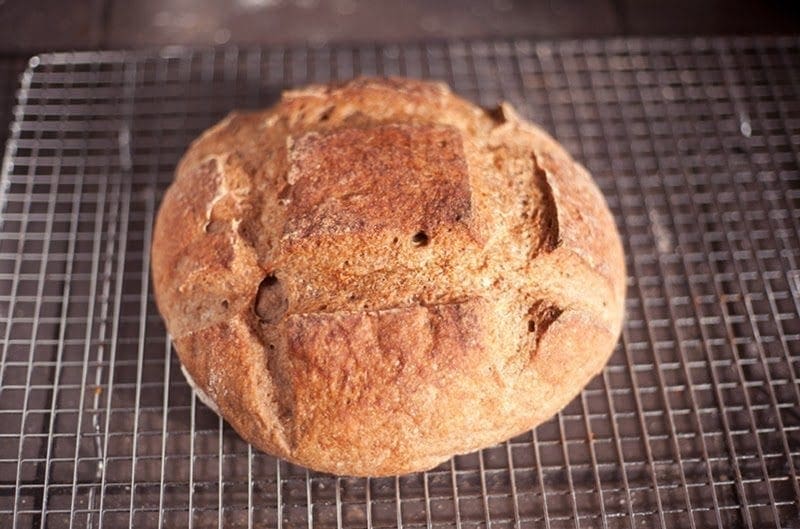
When the bread has risen significantly, and you think it’s getting close to time, heat your oven to 450 degrees F with a cast-iron dutch oven inside. You will know the bread is ready to bake when it has risen quite a bit, and a fingermark gently poked against the surface of the dough doesn’t fill in immediately anymore. Once it passes the “finger test” and the oven is hot, you can shape the loaf, although it’s better to under-proof a little than over-proof. (If you need to go longer than 12 hours on the rise, put the dough in the refrigerator after the bread shows a significant rise. You can leave it in the fridge for up to a day or maybe three, then shape and bake.)